
Make your own kicka** sliding door
My very first DIY attempt was this sliding door. After moving into my house in Portugal I realised that I needed to learn a hell of a lot of things unless I wanted to pay a lot of money for someone else to do it. And since I love challenges I decided to take the leap and get going. My granddad was a carpenter and my dad an electrician - my hope was that I still remembered things from when I was a little girl watching them build stuff :) (side note - some things really came back to me but most of it didn’t)!
So… Here is my description of how I did it and what things I would do differently next time. Because you know, DIYing has a steep learning curve! I went to our local hardware shop and bought a white sliding door kit, including the track. I then got my wonderful boyfriend to do the maths on how many boards I would need to cover one side. If you want both sides to be covered then you’d need double. I used boards which measured xxx, xxx, xxx and also got an electric nail gun and a walnut colour varnish (I used a varnish because I couldn’t find a stain I liked). You will need a miter saw for accurate cuts, some strong glue, wood clamps, a circular saw to cut off the edges, a hammer and wood filler in the colour of your actual wood boards.
Before you start here are a few things I learned:
Get a sliding door (or a plank of wood if you prefer) that is a few centimeters higher than your actual door frame (mine was 3 cms too short and it looks kind of odd when you look closely)
Prepare your cuts before you start gluing things down. Seriously. It will make your life much easier (or like my boyfriend likes to say: Do it right the first time)!
For covering the holes of your nails (or screws if you prefer that) use a filler which has the same colour as your original wood boards. I used one that was a walnut colour (same as the varnish) and you can absolutely see where I dabbed the filler on to cover the nails. If you like imperfection you’ll get away with it.
Make sure your boards are as straight as can be and not warped. Mine were not so straight. It made life much harder and some of my cuts are not 100% because of it.
OK so now we got that out the way I would suggest you get yourself a lovely cup of tea or coffee, some nice, relaxing music, get a couple of minutes of breathwork to center yourself and let’s do this!
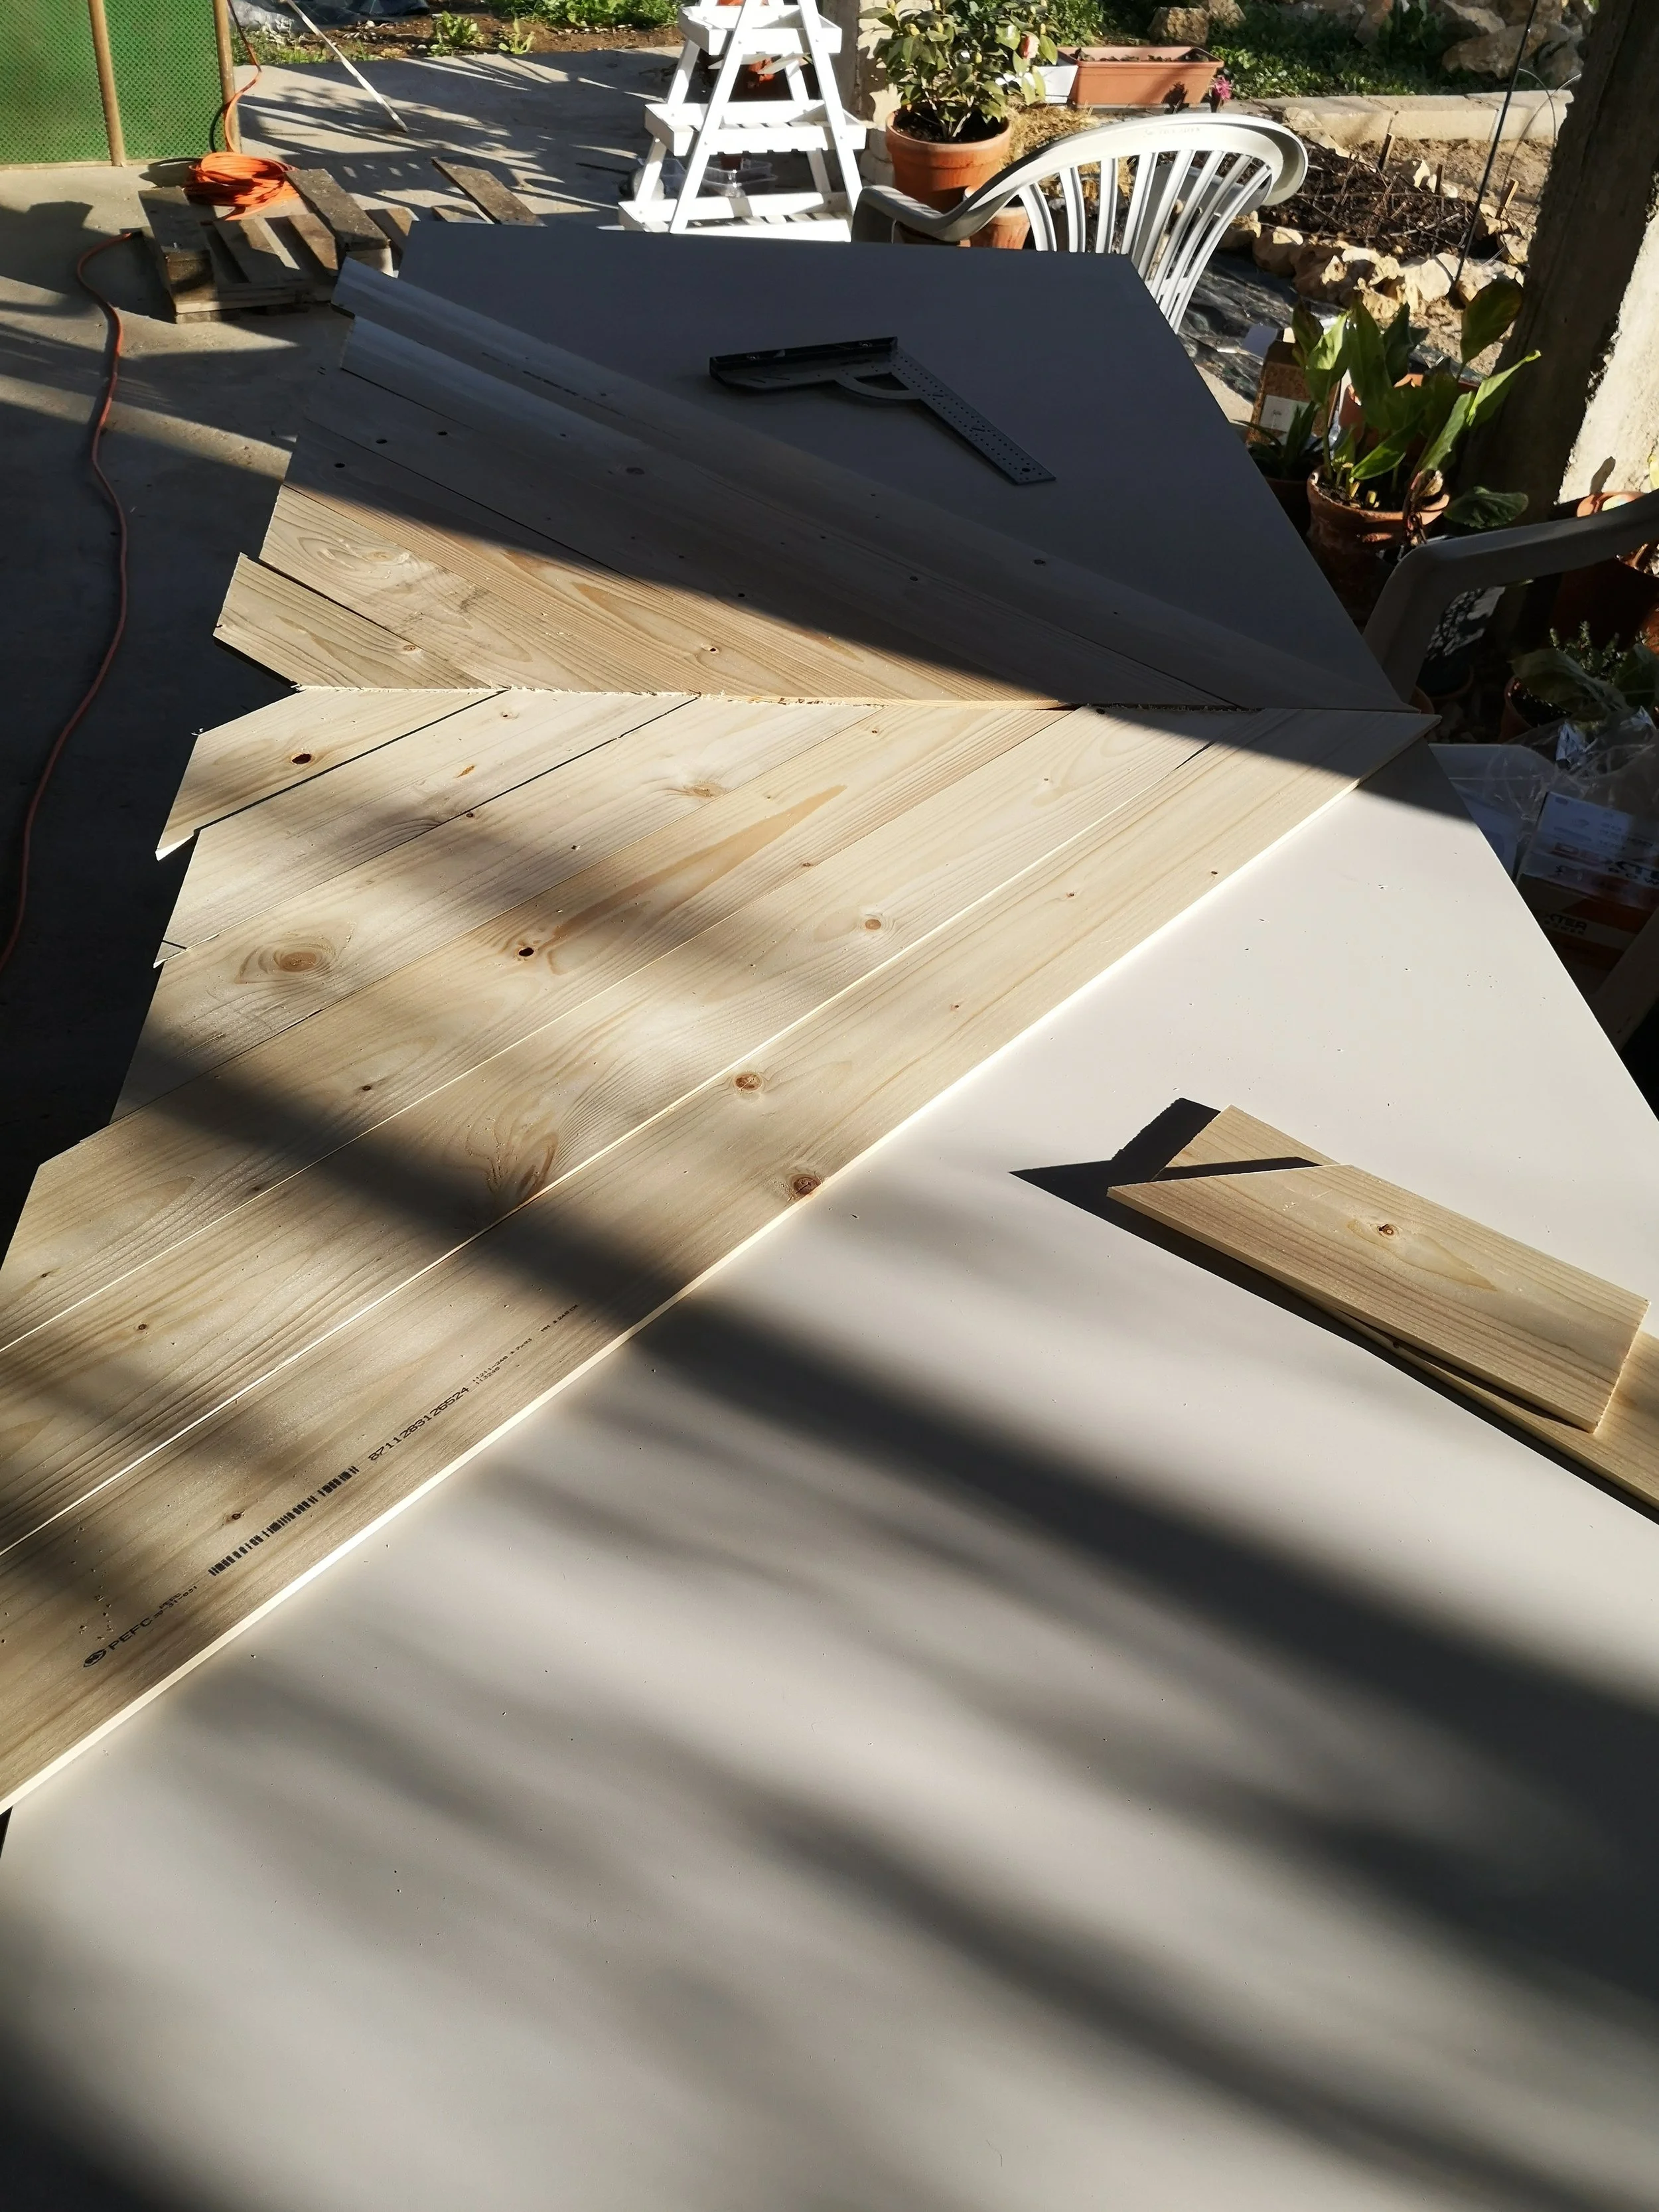
First off - elevate your sliding door or wood plank and measure the horizontal center, drawing a line all the way across as a guide. Cut off the first few boards with a 45 degree angle (I will never work without a miter saw again ever!) and lay them on the board like so.
I didn’t cut the boards to size 100% because I used a circular saw afterwards to cut them all off at the same length. When you are happy with it, put glue on the back side of the boards and put the boards down one by one and then nail them on.
I am sure it doesn’t hurt to weigh down the boards to make sure the glue will adhere properly but I have only done that in the middle and ends.
Next off prepare the boards for the rest of the door. The side touching the first part which you already nailed down is a normal straight cut, no more angle cutting to do here. Lay them out to make sure they fit nicely and only start gluing once you have all the boards ready. I started half way through and the glue was setting WAY TOO FAST for me to catch up on cutting the boards as I went along. I do not recommend this approach at all. Again, nail down your boards making sure they are all flush against the next board.

When you are done your door should look something like this! At this point I stopped and let the glue dry properly overnight. Up until now the process took around 3-4 hours. Get comfortable in spending a lot of time triple checking every step so you do not have a bad surprise half way through. I am not so keen on spending time re-checking but I am learning the hard way so I really urge you to keep checking :)
Make sure all the nails went in properly and hammer the last few millimeters in if need will be. I didn’t use brad nails as I didn’t want to spend that kind of money on the equipment. My nails don’t have a head and the size was xxx xxxx.
New day, new adventure! I am not the most confident with a circular saw because I am left handed and my saw isn’t. However, using a strong guide (be it a metal one or a thick, straight wooden one) will make your life hell of a lot easier. I didn’t and nearly destroyed my door when cutting off the edges. But let me not get ahead of myself here. So, for the love of god, please get a proper guide and temporarily attach it to your door so you can cut the edges off in a straight line. Wood clamps are best to hold the guide in place and stop it from moving around.
Attach it so that the blade of your circular saw runs right at the edge of your initial door/wood plank so you can cut off the excess boards in a nice straight line. I can not stress enough how important it is to have a strong wooden or metal guide that WILL NOT MOVE DURING CUTTING. I used a piece of wood that was very thin and it moved and as a result I cut into the door itself. It took ages to fill the cut with a filler and you can definitely still see it from the other side - URGH!
Get another cup of tea and give yourself a little pep talk if you don’t like circular saws too much either and start to run your saw along your guide slowly. Keep checking if you are on track or cutting into the door. Having a steady hand and rhythm really helps at this point. Repeat the process on all four sides until you have cut off all the boards overhanging the actual door. Et voila, nearly done :) The worst is over I promise!

Next off frame the edges of your door with a board (glue and hammer as per usual). Co-incidentally I had some boards lying around that where exactly the size I needed but you can get edges like this in all kinds of sizes at your hardware shop.
Then fill the holes of your nails and any other imperfections with a filler that is the same colour as your original board, not the final stained/varnished one. Let it dry, sand it down and get ready to paint!
If you are using a varnish you could sand it down and apply another layer to make it look more even. I was actually going for a very rustic style and was totally happy with just one coat of varnish. I tried to apply it a little uneven so it looks a little shabby without it being horrible. I saw videos where people used a stain and that looks really, really cool. However I just couldn’t find the right one here so I just used a varnish.
Let it dry and finally, you should have an end result looking like this:

And of course my lovely kittie Sammy also approved :)
About me goes here.